


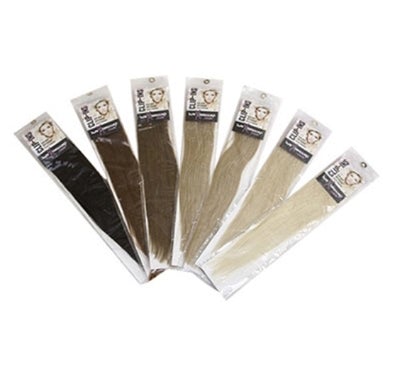

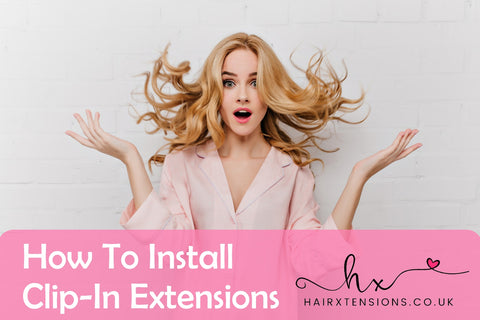
So, you've finally got your hands on a beautiful set of clip-in hair extensions, but how do you put them in? Hair extensions may seem complicated, but they need not be. With a bit of practice and determination, you can reach your hair goals in minutes, right in the comfort of your own home, at a much lower cost than going to a salon!
Here are some tips on how to put in clip-in hair extensions:
1. Before applying clip-ins, ensure that you properly section your hair in rows to keep any tangles or pulling at bay, and make sure the clips remain undetectable.
2. Avoid placing clip-ins too close to your hairline or parting, as they may be visible through the hair. Leaving a gap of 1-2 inches around your hairline and parting will ensure the clips remain unseen; professional extensionists refer to this area as the ‘Red Zone’.
3. For fine, soft hair, always backcomb your roots gently before attaching clip-in extensions; this will give the clips more grip and reduce their likelihood of slipping out. This step is particularly important.
4. Work your way up from the bottom rather than starting at the crown. This enables you to have neater sections and more control over your hair.
5. If you have fine hair and fear the top pieces may be visible, you can achieve more coverage by backcombing the row above for a fuller finish.
We at HairXtensions are confident that with a bit of practice, you, too, can master the art of putting in clip-in hair extensions. Our wide range of hair extensions has something for everyone and is a perfect way to add length, volume, and colour to your hair without breaking the bank. Try out different styles, colours, and lengths today! Happy styling!